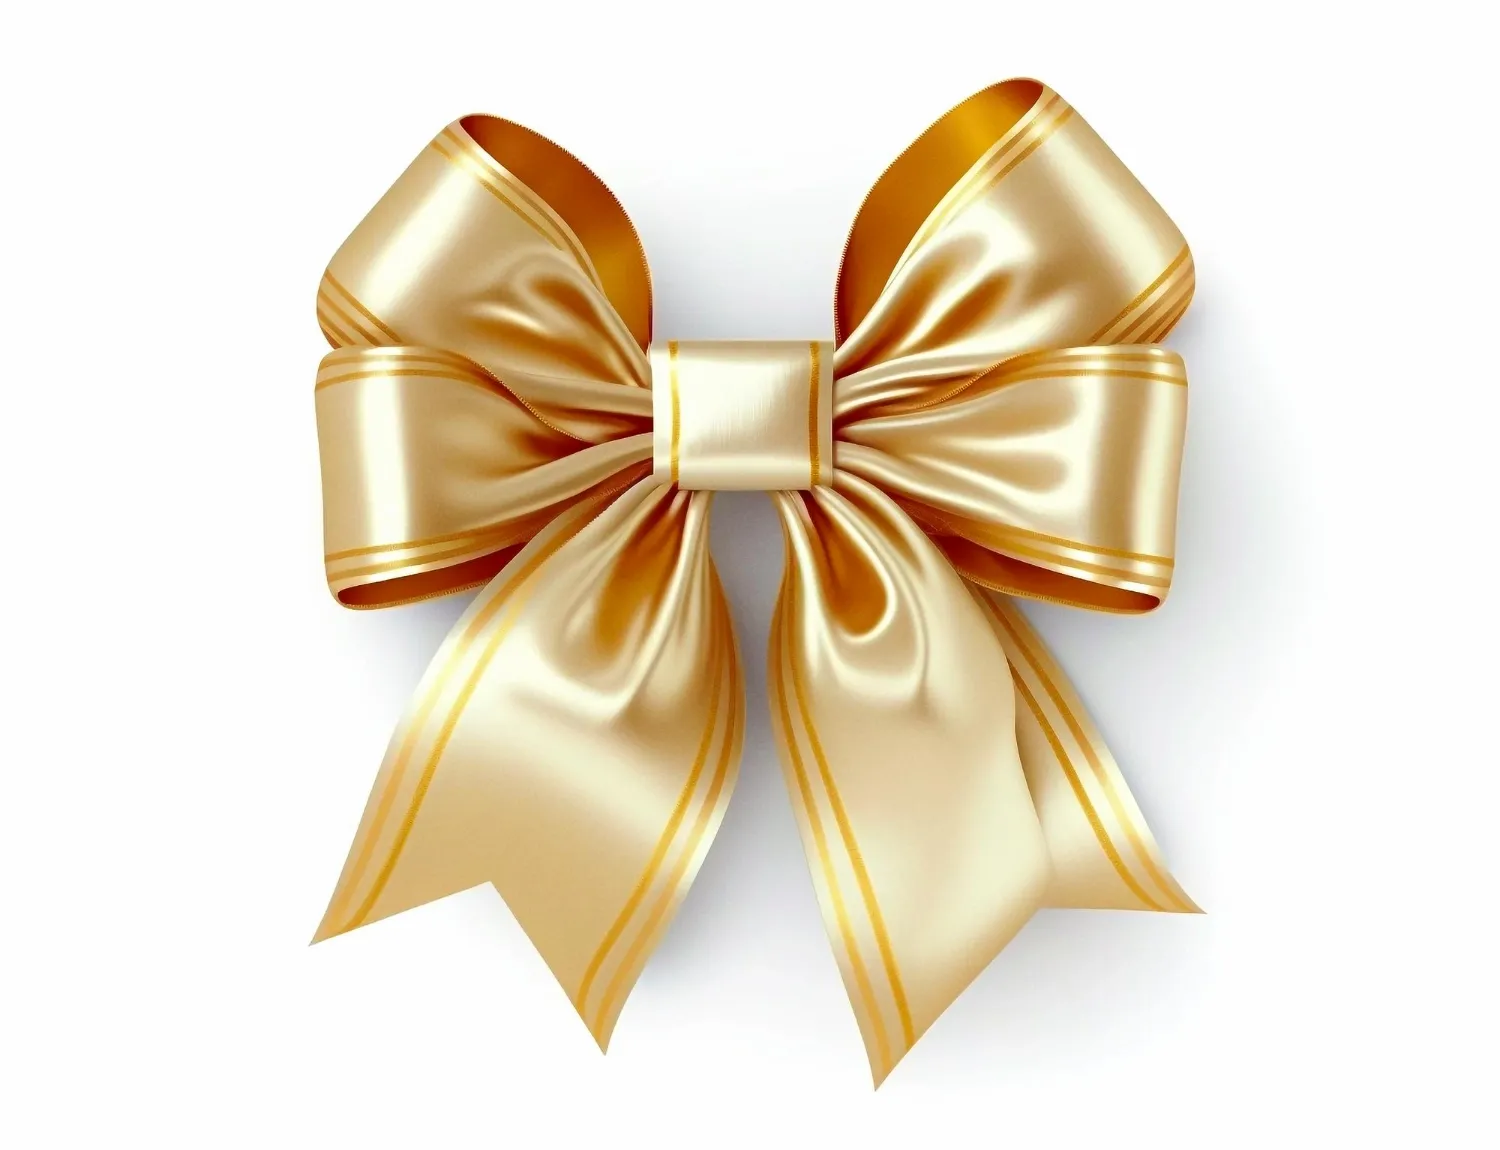
How to Tie a Ribbon Bow: 5 Easy Steps
Nothing beats the decorative charm of a ribbon bow on a wrapped gift, invitation card, craft project, or a floral arrangement. Not to mention that these bows can also add delicate touches to accessories and clothes when tied skillfully.
Unfortunately, pre-made ribbon bows are usually only available in standard sizes, styles, and colors. Moreover, they’re mass-produced and might have uneven loops, frayed edges, and poor adhesives. As such, you might not readily find a perfect match for your specific needs.
But don’t be discouraged. You can design a handmade ribbon bow and even add a few personal touches. Better still, this DIY project is simple to pull off, even if you’ve never done it before. Let’s get into the nitty-gritty of how to tie a ribbon bow.

Table of contents
-
Tying a Ribbon Bow in 5 Easy Steps
-
Step 1: Gathering the Necessary Supplies
-
About Choosing the Ribbon
-
Step 2: Determining the Size of the Ribbon Bow
-
Step 3: Making Loops from the Ribbon
-
Step 4: Securing the Loops Tightly at the Center
-
Step 5: Fluffing and Shaping the Bow
-
Have Fun Creating Customized Ribbon Bows
Tying a Ribbon Bow in 5 Easy Steps
For starters, the beauty of a ribbon bow lies in making spotless loops that are neither too large nor too small for the project you have in mind. When you learn the art of loop creation, you’ll never think twice about making ribbon bows whenever the opportunity arises.
Here’s how to tie a ribbon bow.
Step 1: Gathering the Necessary Supplies
Start by placing every item you’ll need for your project on a table. After all, rushing around searching for missing tools and materials might have an impact on the final outlook of your ribbon bow.
Here are the items you need:
- A ribbon
- Scissors
- A twist tie or florist wire (optional) for securing the bow’s center
- Bottled glue

About Choosing the Ribbon
Besides the tying skills, the choice of ribbon can make all the difference. For that reason, it’s wise to find the material, color, width, and texture that match the look you’re hoping to achieve.
You can find ribbons in different materials:
- Satin: This is probably the most versatile ribbon bow material as you can use it for any occasion. It’s a popular choice due to the wide range of colors available and shiny surface with a soft texture.
- Velvet: These ribbons have a luxurious and plush texture, making them ideal for special occasions such as holidays, birthdays, and weddings.
- Burlap: The material is made from hemp fiber, jute, or flax, giving it a sensual look for home decor or gift ribbon bows.
- Grossgrain: The course texture and elastic nature of these ribbons give them a long lifespan. Their loops are excellent for gifts.
For unique design elements on the ribbon, you can choose custom ribbons. A brand like Custom Ribbons Now will save you the hassle as you can customize any type of ribbon to meet your needs.
Step 2: Determining the Size of the Ribbon Bow
Before you start cutting the ribbon, take some time to decide the size of the bow you need. Be guided by the item you want the ribbon bow to adorn.

Generally, a larger item will require a larger ribbon bow, while a smaller one might get overwhelmed if the bow is too big. Choosing an appropriate size ribbon bow ensures visual balance.
Step 3: Making Loops from the Ribbon
Now, it’s time to get started with the actual work. For a puffy ribbon bow, follow these steps:
- Loosen a bunch of ribbon from the spool.
- Hold one end and estimate a length that will produce two loops of the desired size.
- When you reach the length you want to work with, fold the ribbon horizontally along its width.
- Start wrapping the rest of the ribbon around the folded portion to form the first loop. Be sure to keep the length consistent.
- Repeat the process to create additional loops, making sure that each fold neatly overlaps the previous one.
- Once you have enough number of loops, hold them firmly so they remain in place. Take your scissors and cut them from the rest of the ribbon.
Step 4: Securing the Loops Tightly at the Center
When you have your loops ready, what follows is tying them securely at the center. Here, you’ll need to keep your twist tie or florist wire nearby. If you don’t have either, you don’t have to panic. Take the ribbon that remained and tear a thin and long piece. Next, follow these steps:
- With your looped ribbon intact, estimate the middle and fold it in half.
- Hold the folded loop in one hand with the center looking up.
- Take your scissors and cut the two corners of the middle part. Aim not to cut them too close to each other to leave enough gap between them.
- Unfold the looped ribbon, holding the layers firmly in place.
- Take your florist wire, twist tie, or a piece of ribbon, and tie it tightly between the notches you cut at the center. Be careful not to distort the loops.

Step 5: Fluffing and Shaping the Bow
If you’ve come this far, the tricky part is done. However, you’re not finished just yet. Hold the center of your ribbon bow and gently pull one loop from the inside towards you and twist it. This will fluff it out.
Repeat the process for the other loops. When you finish, arrange them so they form petal-like circular patterns. Now, pat yourself on the back because your ribbon bow is ready, and you can attach it to your parcel using bottled glue that dries clear.
Have Fun Creating Customized Ribbon Bows
Now you’ve learned how to tie a ribbon bow and a puffy bow. With practice, you’ll be able to tie ribbon bows in no time and use them to decorate your house, gifts, cards, and more. Remember Custom Ribbons Now should be your go-to place for all your ribbon needs. They let you design your ribbons on their website, make them for you, and deliver them right to your home.